I like to make the most of sunny autumn days but sadly they are few and far between, there’s no alternative but to dig out the baggy pullover and body-warmer and venture out. There’s lots of tidying up to do and planting too.
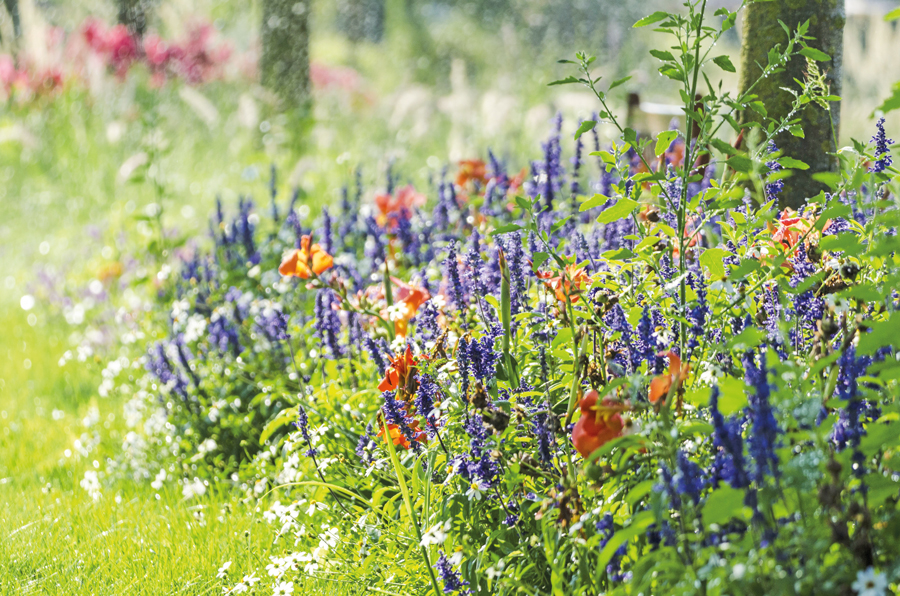
After three to four years most perennial borders are starting to look a little untidy, some ‘good doers’ are muscling out the less robust perennials resulting in your carefully balanced planting and colour scheme losing its intended effect. Now is a good time of year to start sorting that out, first of all work your way through the border checking existing labels and inserting them into the centre of the crown of the plant. Once they have died down it can be difficult to identify which plant is where, that is unless you have a very good memory. Where labels are lost or misplaced you should still be able to identify each plant from the foliage and maybe a few fading flowers. Make a note of those cultivars that you feel are in the wrong place I normally add a coloured label to the clump so that I know it has to be moved to a different place in the border. It may be that it was too tall or the colour didn’t quite work. Before you lift anything draw a rough sketch on a piece of paper marking where each plant or group of plants should go. Most summer flowering herbaceous perennials can be lifted in autumn, although if your site is particularly wet or cold you may wish to delay the process until spring. If this is the case then just cut the plants down by about two thirds to tidy them up. Final trimming can be done in spring when you replant.

■ Herbaceous perennials
Carefully lift the plant with a garden fork about 5 cms (2 inches) from the edge of the clump. I normally split the clumps as I work through the border, carefully placing the offsets in a tray and then moving the trays into a sheltered spot, and cover with fleece if there is a risk of frost. The strongest offsets are around the edge of the clump, and you can expect to have about four or five clumps the size of a 15cm (6 inch) pot, discard the centre of the plant to the compost heap as this will be exhausted. If your border is quite big you may wish to complete the work in sections or indeed a section every three to four years.

■ Cannas
Once the plants are removed, remove any perennial weeds such as dandelions, nettles, couch grass or bindweed, then fork in a barrowload of well rotted manure or compost per square metre (or square yard). Replant the offsets as soon as you can, ideally within a few days, adding a sprinkle of bonemeal to each planting hole. If the weather is warm and dry you may need to water them in. Finish the border with a good layer of rotted compost or manure about 50 – 75 cm ( 2 – 3 inches) this will help retain moisture and suppress annual weeds.
Garlic can be planted in both autumn and spring, I plant a batch in autumn and again in spring, this will give me a good supply from late May onwards, with the spring plantings lifted in September and stored for use through to the following spring. With two plantings you should have garlic available all year round. Don’t be tempted to plant garlic from the supermarket or green grocer as they will not perform well and could carry fungal spores. Buy from the garden centre, nursery or online. Garlic is supplied as a bulb, which is a collection of cloves, carefully separate each clove taking care not to snap the clove in half. You need a little of the base where the roots will emerge from. Prepare the area by forking over the ground incorporating well rotted compost or manure at the rate of 1 barrowload per square metre (yard). Apply a dressing of general fertiliser, I use chicken pellets or a general organic fertiliser, and plant the individual cloves just below the surface 15cm (6 inches) apart in the rows, spacing the rows 30cm (12inches) apart. If birds are a problem, then it is best to cover the the rows with bird netting. When the leaves turn yellow the garlic can be lifted and dried then stored for use. Good cultivars for autumn planting are ‘Solent Wight’, Early Purple Wight’ and Mersley Wight’ ( All were bred on the Isle of Wight).
Tender exotics such as Bananas, Cannas, and Begonia’s will not survive if left out in the garden. Lift with a good rootball and repot using a general potting compost ( I use John Innes No. 1) and place in a frost free greenhouse. If you do not have a frost free greenhouse then wrap the exposed foliage with horticultural fleece and place in an outbuilding or garage. Check the plant weekly to make sure it is not rotting, removing any soggy foliage. On mild days it is good practice to remove the fleece during the day and wrap up again at night.
Next month, Prepare your greenhouse for winter, plant soft fruit and autumn lawn-care.
Happy gardening, Martin


