I know it may not be to everyone’s liking but I am grateful for the rain when it comes, and as the weather patterns change we seem to be be moving to a more extreme, excessive heat then excessive rain. It does make you realise that climate change is a real issue.
Wisteria are a woody shrub usually trained against a wall, flowering in late spring/early summer with long pendulous tassels of sweetly scented blooms in shades of lilac through to white. Trained over a single or series of arches they can produce a spectacular display, especially if they are combined with clematis, extending the interest and colour throughout the year.
The key to reliable flowering and maintaining a good shape is to prune them twice each year, January/ February and July/August. I will deal with the winter pruning in a later issue, so for now we will look at July/August pruning. The reason why we prune now is to control all the whippy growth, maintain the shape and framework and encourage the remaining shoots to ripen which usually encourages improved flowering. The technique is fairly straight forward but involves looking at each new shoot and cutting them back to five leaves from where it started growing this year. You can tell where this is as the old stem will be pale, often grey in colour whilst new shoots are usually a fresh green colour. If you count five leaves from where the new growth starts cut the shoot with your secateurs about 2mm above the leaf/bud. If your wisteria is a young plant and you want it to spread over a larger area, restrict your summer pruning to side shoots and tie in those you want to extend. Again winter is the time to re-position and prune these.
In dry spells it’s a good idea to give your wisteria a little water, about two gallons (5 litres) every three weeks unless we get a few regular rain showers, although the soil nearest the house does tend to dry out more quickly than in the open garden.
I love growing onions, and find them quite reliable. Although not for the show bench, we do have enough to last us well into the following year, in fact we are still eating last year’s crop which have been stored in a cool brick garage with no windows. It is like a giant cold store for many of our vegetables. The key is to ripen them properly as this is crucial if they are to store well. An indication that the bulbs have reached their final size is that the top of the plant naturally bends over. Depending on the cultivar and growing conditions the bulb can be anything from 5 – 10cm (2 – 4 inches) in diameter, although selected cultivars and special treatment can result in the giants you see on the show-bench. When most of your plants have bent over any remaining can be gently bent ensuring you don’t snap the stem. With a garden fork, gently press the fork into the soil about 5cm from the bulb and ease back the fork loosening the ground, don’t pull it out at this stage. You are simply encouraging the plant to ripen. after a few days the leaves will be starting to turn straw coloured and after a week, you can start to lift them. Gently ease out with a fork shaking most of the soil from the roots, If the weather is fine the plants can be left on the soil or placed on a bench in the shed if you have one. We have some wire mesh frames that we lay the plants across which allows better air flow and dries them more evenly. After a couple of days I remove the dry roots and remaining soil just by rubbing them with your hand, I also remove a couple of layers of papery skin as this removes any blemishes and damage. Keep them spaced out on the bench until they are fully dry, bulbs and leaves. We then plait the stems together to create onion ropes that can be hung in the garage and used when required. Any damaged or misshapen onions should be used first as they don’t store well.

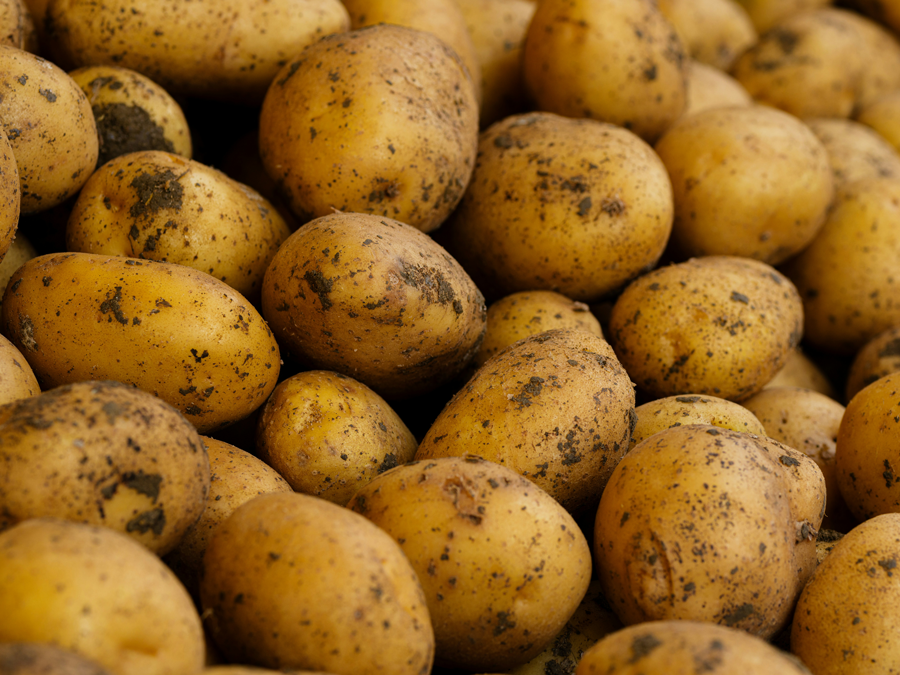
August is a great time to start your Christmas potatoes. Specially prepared tubers are sold both online and at your local garden centre/nursery. These have been cold stored to hold them back in order that they can be planted in summer and will provide a crop of fresh new potatoes for Christmas. The technique is fairly simple but does require them to be grown in a container (potato growing bag or large deep pot), With a potato growing bag place about 10cm (4in) of general purpose compost in the bottom of the bag and place three tubers equally spaced apart in the bottom, on one end of the tuber there will be a cluster of very small buds this should be placed upwards as you place in the compost. There is no need to ‘chit’ (start off) the tubers. Place 10cm (4ins) of compost over the tubers and water the compost. As the shoots develop continue to apply compost leaving just a couple of inches of growth showing, until you are 5cm (2ins) from the top of the growing bag. Continue to water the container and watch them grow. During summer and until the temperature gets towards freezing the containers can be kept outside in a sheltered spot, but before the frosts come the containers will need to be brought into a greenhouse or shed with good light from windows. Allow the foliage to die down naturally and leave them in their bags until you need them. You can have a little dig in the compost just to make sure there are some tubers and just cover then over until needed. Do not water once you have brought them inside as the compost needs to dry out otherwise the tubers will rot.
We have found that potatoes grown and stored in this way are a fresh and tasty addition to the festive table.
happy gardening,
Martin
(Next month, pumpkins and squashes, autumn container displays, get ready for garlic.)


